Are you tired of the same old mass-produced t-shirts that everyone seems to be wearing? Why not add a touch of creativity to your wardrobe by screen printing your own unique designs on a t-shirt? Screen printing is a fun and rewarding DIY project that allows you to unleash your artistic side and create personalized apparel. In this friendly guide, we’ll walk you through the steps of screen printing a t-shirt, so grab your materials and let’s get started!
Step 1: Gather Your Materials
Before diving into the world of screen printing, make sure you have the right materials at hand:
- A blank t-shirt: Choose a shirt made of 100% cotton for the best results, as it absorbs ink well.
- Screen and frame: Purchase a screen with a frame suitable for your desired design size.
- Photo emulsion and sensitizer: These chemicals are used to create the stencil on the screen.
- Squeegee: This tool helps you push the ink through the screen onto the shirt.
- Screen printing ink: Opt for fabric-specific ink available in various colors.
- Light source: You’ll need a light source to expose the stencil onto the screen.
- Design template: Print or draw your design on transparent paper or a film positive.
Step 2: Create Your Stencil
Now that you have your materials ready, it’s time to create your stencil:
- Coat the screen with photo emulsion: Follow the instructions on the emulsion package to mix it properly. Apply a thin, even layer of emulsion to both sides of the screen using a squeegee.
- Let it dry: Allow the screen to dry in a dark room or use a fan to speed up the process.
- Prepare your design: Place your design template on top of the dry emulsion-coated screen, ensuring it aligns perfectly.
- Expose the screen: Use a light source or a light table to expose the screen for the required time, based on the emulsion and sensitizer instructions.
- Rinse the screen: Rinse the screen gently with water, and your design will appear as a stencil on the screen.
Step 3: Set Up Your Workstation
Find a well-lit and ventilated area to set up your screen printing station:
- Lay down some newspapers or a drop cloth to protect your work surface.
- Place the t-shirt on the flat surface, and use tape to secure it in place if needed.
- Position the screen over the t-shirt, ensuring the design is precisely where you want it.
Step 4: Printing Time!
With your workstation set up, it’s time for the exciting part – printing your t-shirt:
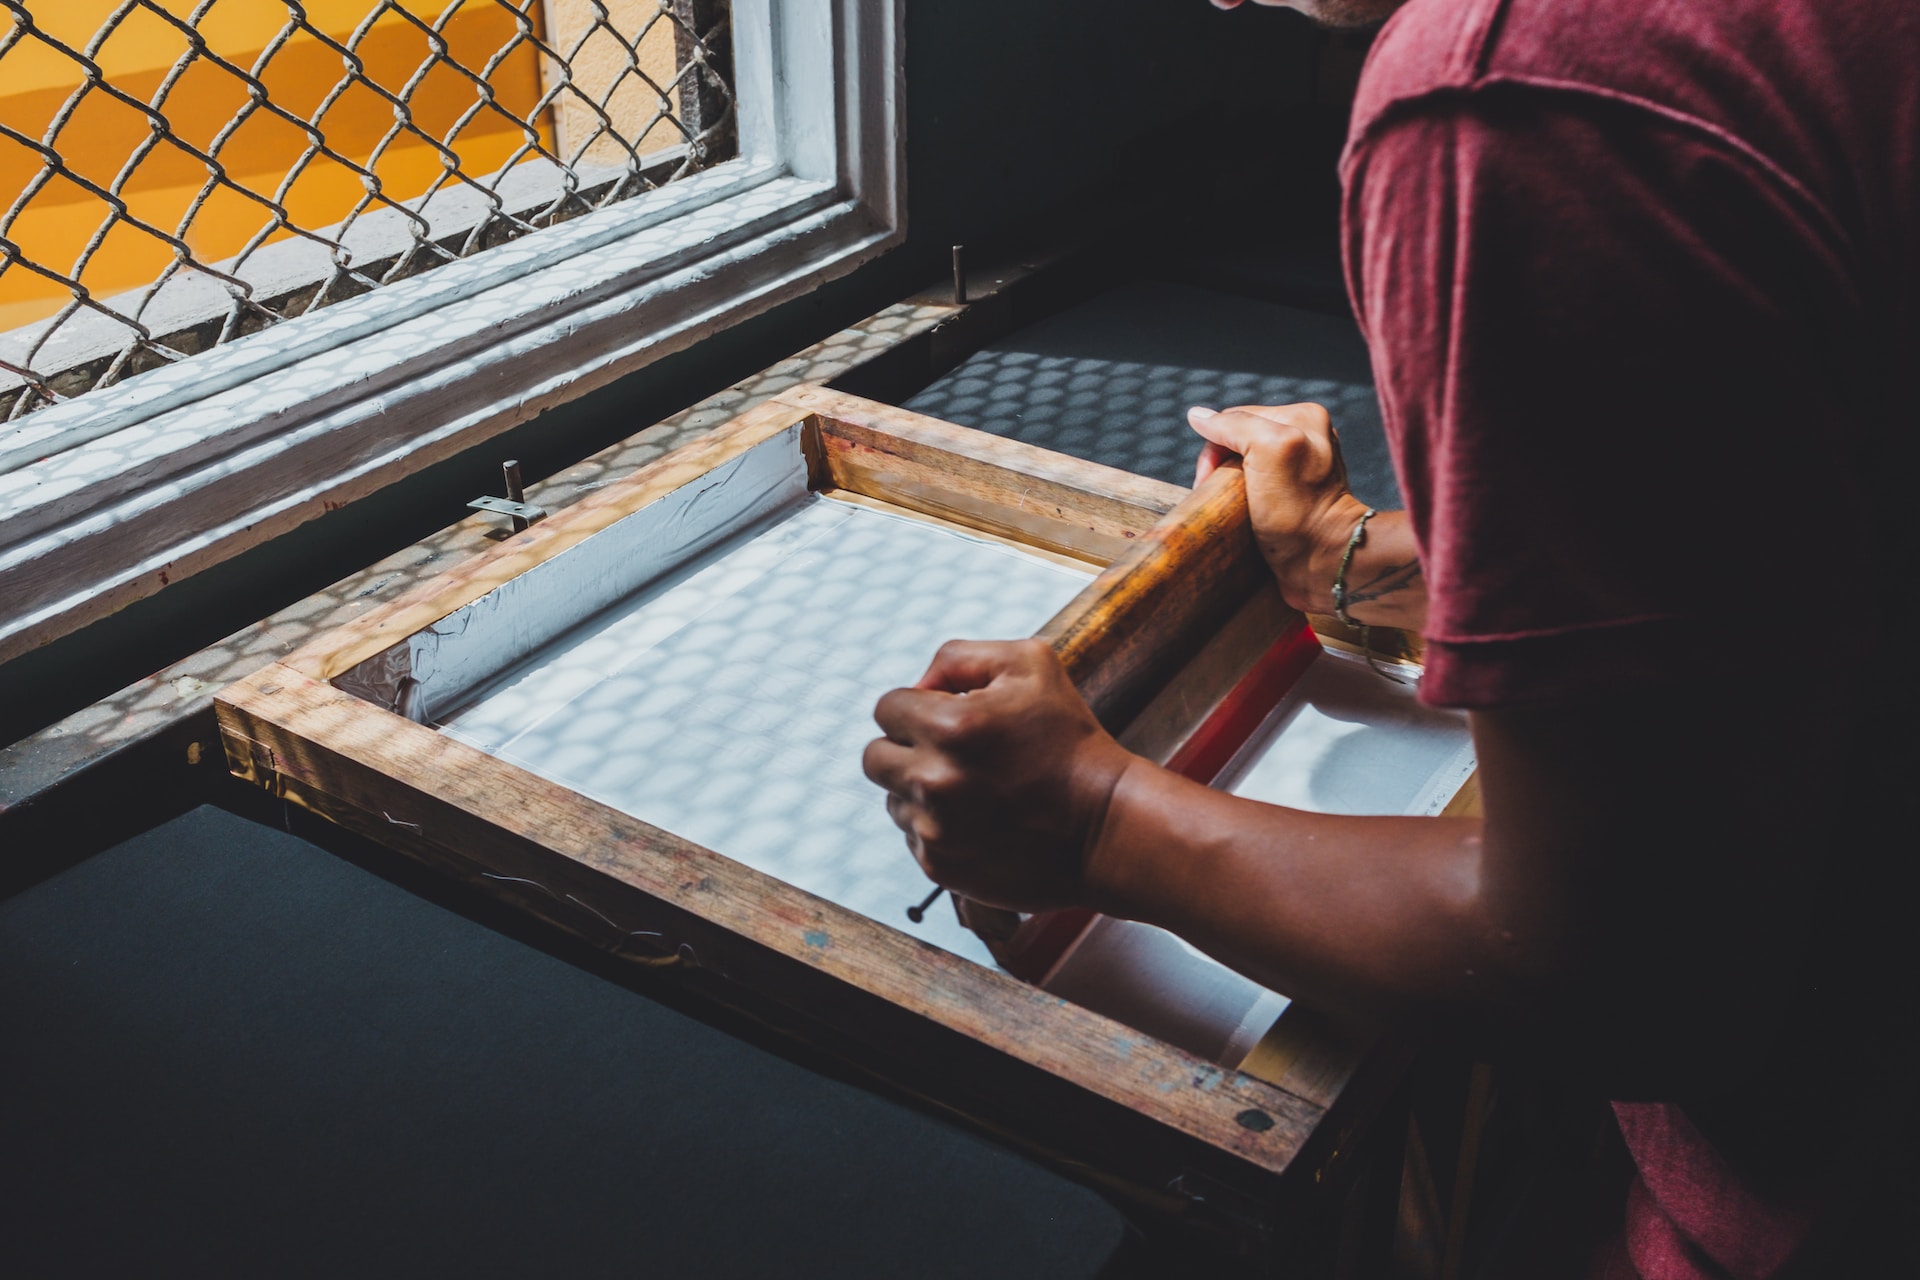
- Apply ink to the screen: Place a line of ink at the top of the screen, just above the design.
- Use the squeegee: Holding the squeegee at a 45-degree angle, firmly pull the ink down the screen, covering the entire design in one smooth motion.
- Repeat the process: Lift the screen carefully and check your print. If you want a more vibrant design, apply another layer of ink and repeat the process.
Step 5: Drying and Curing
Congratulations! You’ve successfully printed your t-shirt. Now, allow the ink to dry completely before wearing or washing it. Follow the instructions on your ink container for proper curing methods.
Conclusion
Screen printing your own t-shirt is an enjoyable and fulfilling way to express your creativity and style. With a bit of practice and experimentation, you’ll soon be printing like a pro. So, gather your materials, unleash your imagination, and get ready to wear your one-of-a-kind creations proudly. Happy printing!
Leave a Reply