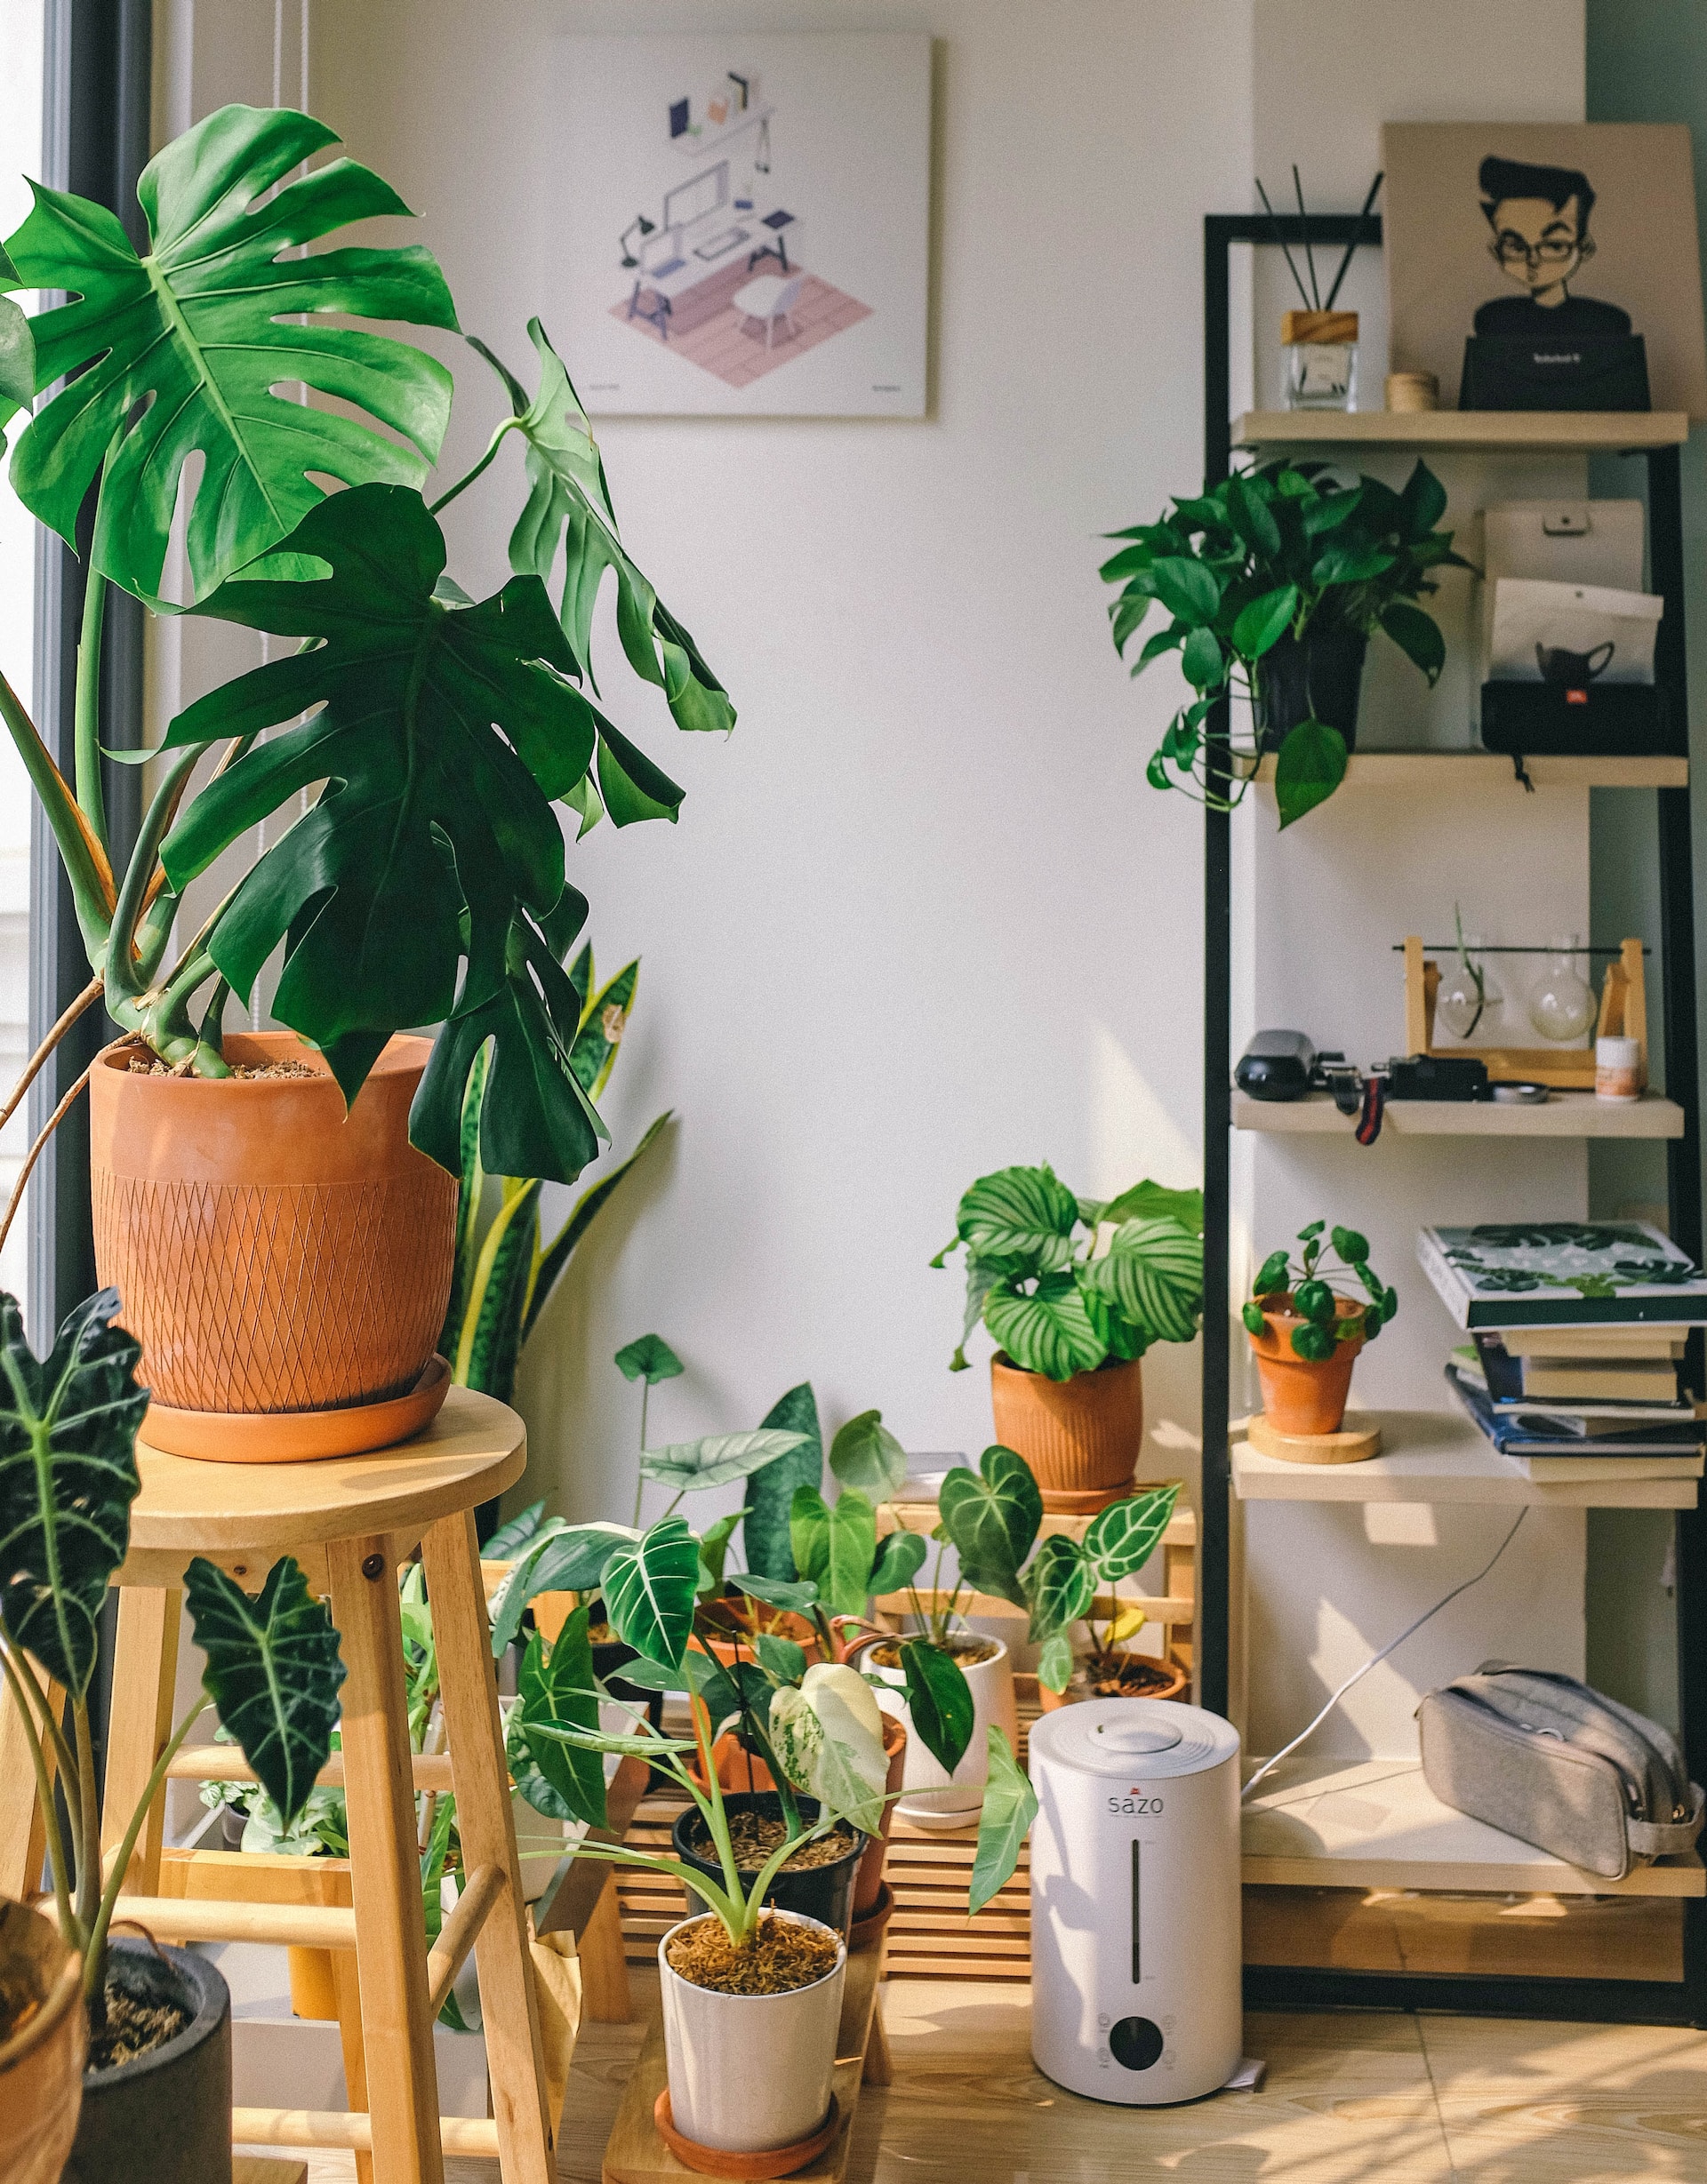
Repotting a houseplant is an essential task that allows your green companion to thrive and grow. It might seem like a daunting process at first, but with a little knowledge and a friendly approach, you can ensure a successful transition for your beloved plant. In this article, we’ll provide you with a step-by-step guide on how to repot a houseplant, ensuring it gets the fresh start it deserves.
- Assess the Need for Repotting: The first step is to determine if your houseplant needs to be repotted. Look for signs such as roots growing out of drainage holes, stunted growth, or water draining too quickly. These are indicators that your plant has outgrown its current pot and requires more space to flourish.
- Choose the Right Pot and Soil: Select a new pot that is slightly larger than the current one, allowing room for the plant’s roots to spread. Ensure the pot has drainage holes to prevent waterlogging. Choose a well-draining potting mix specific to your plant’s needs. Consult a local nursery or garden center for advice on the appropriate soil type for your specific houseplant.
- Prepare the Plant and Pot: Water your plant a day or two before repotting to ensure the roots are adequately hydrated. Gently remove the plant from its current pot by tapping the sides or carefully loosening the soil with your fingers. Avoid pulling on the plant, as it can cause damage. Clean the new pot and add a layer of fresh potting soil at the bottom.
- Untangle and Trim the Roots: Inspect the plant’s roots and gently untangle any that are circling the root ball. Trim any damaged, dead, or excessively long roots using clean, sharp scissors or pruning shears. This encourages healthy growth and prevents root-bound issues. Aim to maintain a balanced root-to-shoot ratio for optimal plant health.
- Place the Plant in the New Pot: Position the plant in the center of the new pot, ensuring it sits at the same depth as before. Add fresh potting soil around the roots, gently pressing it down to eliminate air pockets. Leave a small space at the top to allow for watering. Avoid compacting the soil too tightly, as it can hinder water drainage and air circulation.
- Water and Care for the Repotted Plant: After repotting, give your plant a thorough watering to settle the soil and promote root establishment. Place the plant in an appropriate location based on its light and temperature requirements. Avoid exposing it to direct sunlight immediately after repotting, as the plant may be more sensitive during this period. Resume regular care routines, including watering, fertilizing, and monitoring for signs of adjustment or stress.
- Monitor and Adjust: Keep a close eye on your repotted plant in the weeks following the process. Watch for signs of stress, such as wilting or yellowing leaves, and adjust your care routine accordingly. Remember that each plant is unique, and some may require more time to acclimate to their new surroundings. Be patient and provide the necessary care and attention to help your plant thrive.
Conclusion: Repotting a houseplant is an act of love and care, providing your leafy companion with a fresh start and room to grow. By assessing the need for repotting, choosing the right pot and soil, preparing the plant and pot, untangling and trimming the roots, placing the plant in the new pot, watering and caring for the repotted plant, and monitoring its progress, you can ensure a successful repotting experience. So grab your gardening gloves, embark on this friendly adventure, and watch your houseplant flourish in its newfound home!

Leave a Reply